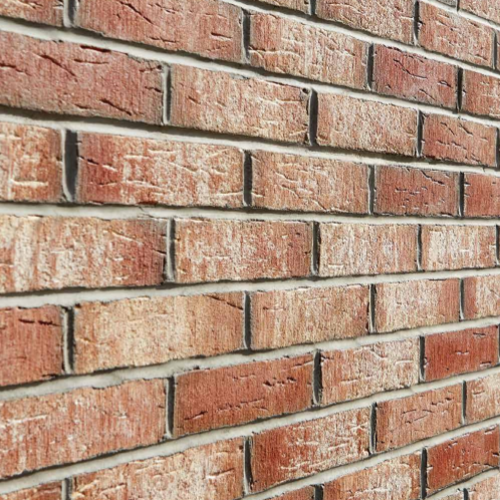
Brick Slips Classic Range (pack of 30)


- Product Code: A1-2147
- Delivery Time: 1 - 2 days
- Brand: Eurobrick
- Model and Size: Classic Range

4.7 out of 5 - Excellent


Brick Slips Classic Range (pack of 30)
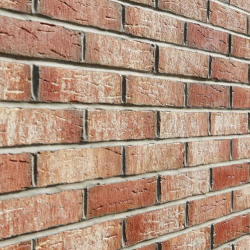
Brick slips Classic range are slices of brick designed to replicate the look of masonry, typically fitted to a backing board or fixed with adhesives to a substrate. They are mostly cut from existing bricks. They replicate the look of conventional bricks, and can be supplied in a wide variety of styles and colours to suit both contemporary and traditional projects. They are designed to be fitted to a backing board or direct to substrate using an adhesive. They are manufactured in the nominal size 210-215mm x 65mm x 20-25mm. Using insulated brick-slip cladding as a finish for external wall insulation is a great way to upgrade existing solid walls to achieve high energy efficiency without adding too much thickness.
Note: Please choose colours and textures from this chart

- Replicate the look of natural materials,
- Wide variety of styles and colours,
- Easy to handle and install,
- Less labour intensive,
- Reduce wall thickness,
- High frost resistance,
- Low-maintenance,
- Durable,
- Cost-effective,
- Made in the UK
- External walls,
- Internal walls,
- On proprietary cladding systems,
- On rigid backer boards,
- On external wall insulating systems.
- Prior to applying brick slips, ensure that both the surface to install and brick surfaces are dust free and dry.
- Application of bricks should not be carried out where temperatures are less than 3C.
- Application of the bricks should be commenced at the most visible outside corner.
- The intervening horizontal brick spacing and layout should then be determined.
- This is best achieved by running two courses of bricks from one end of the wall to the other taking account of wall panels occurring between openings and adjusting the perpendicular joints and/or inserting cut bricks to achieve a full or half brick at the wall ends and the end of wall panels between openings.
- The optimum perpendicular joint width is 10mm, this may however be adjusted within the limits 6mm to 15mm.
- When the desired brick spacing has been achieved with the two courses of bricks acting as a template, the wall should be sectioned with plumbed lines approximately mid span of each panel as a guide for perpendicular joint locations for adjoining courses.
- Where openings or obstructions occur, it may be necessary to adjust the brick spacing in order to avoid too narrow mortar joints or small pieces of brick adjoining the opening or obstruction.
- Expansion joints in the main structure must be maintained. The width of the expansion joint should be filled with a non-hardening poly-sulphide sealant in a complementary colour to the depth of the brick.
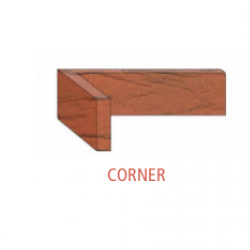
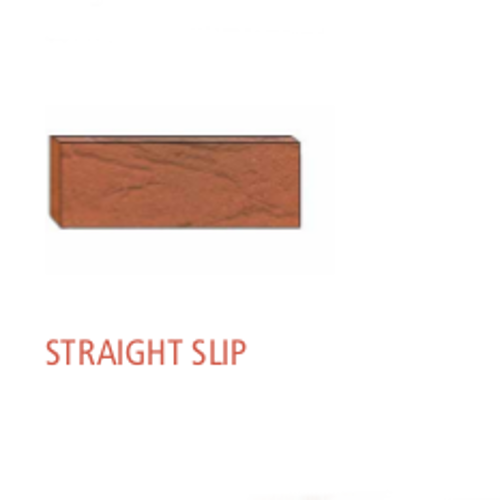
- Brick slip straights may be cut with tile cutters, diamond tipped angle grinder disc or wet saw.
- The grout should be mixed with clean water in a clean container using a high speed shear mixer with plasterers paddle attachment.
- Pointing should not commence unless the temperature is at least 5C and rising.
- Leave the tooled joints for at least 10-15 minutes and then brush the finished brickwork with a stiff bristle brush at an angle of 45 degrees to the horizontal to ensure that the grout is not pulled away from the brick edges.
- At the base of the brick panel at the brick panel joints, leave a 10mm weep hole for the egress of any moisture which may have percolated behind the brickwork. Avoid brushing the brickwork too soon as this may leave brush marks in the mortar.
- After completion of the job wash the affected areas with clean water and a hard bristle brush hosing the affected brickwork during cleaning to ensure that staining does not occur.
- Cleaning of the grout should not be carried out until the mortar has properly cured, usually after about 48 hours from installation.
- Do not use of brick acids for the cleaning of mortar or brickwork.


