


")


Silicone Render Explained

Rendering buildings used to be a very straightforward decision making process. You or the professional plasterer took a bit of sand and cement, mixed it up with water and spread it out on the external walls. After it was dry, exterior paint was applied. Job done.
Technologies have moved on. There are much more advanced systems on the market now which have many benefits.
Silicone renders have overtaken the market by a storm. They have revolutionised exterior wall finishes by offering enhanced durability, aesthetic appeal and protection against environmental factors. Products like Ceresit CT74 Silicone Render exemplify these advancements, providing a modern alternative to commonly used sand and cement renders.Silicone renders, as the name suggests, contain silicone which is a polymer that has rubber characteristics and is heat resistant with a low thermal conductivity. This makes it perfect for use over external wall insulation or applied directly onto various material surfaces, such as concrete, masonry blocks and exterior cement boards (render carriers), such as Knauf AquaPanel.
A very obvious benefit is that these renders are much thinner than sand/cement renders being in the range of 5-7mm thick, compared with 16-25mm for sand/cement renders.
Silicone renders are through colours, premixed to the colour of your choice meaning that you do not need to repaint it, thus providing very low maintenance. Also if they get scratched or chipped, the through colour keeps it looking well without the need to repaint.
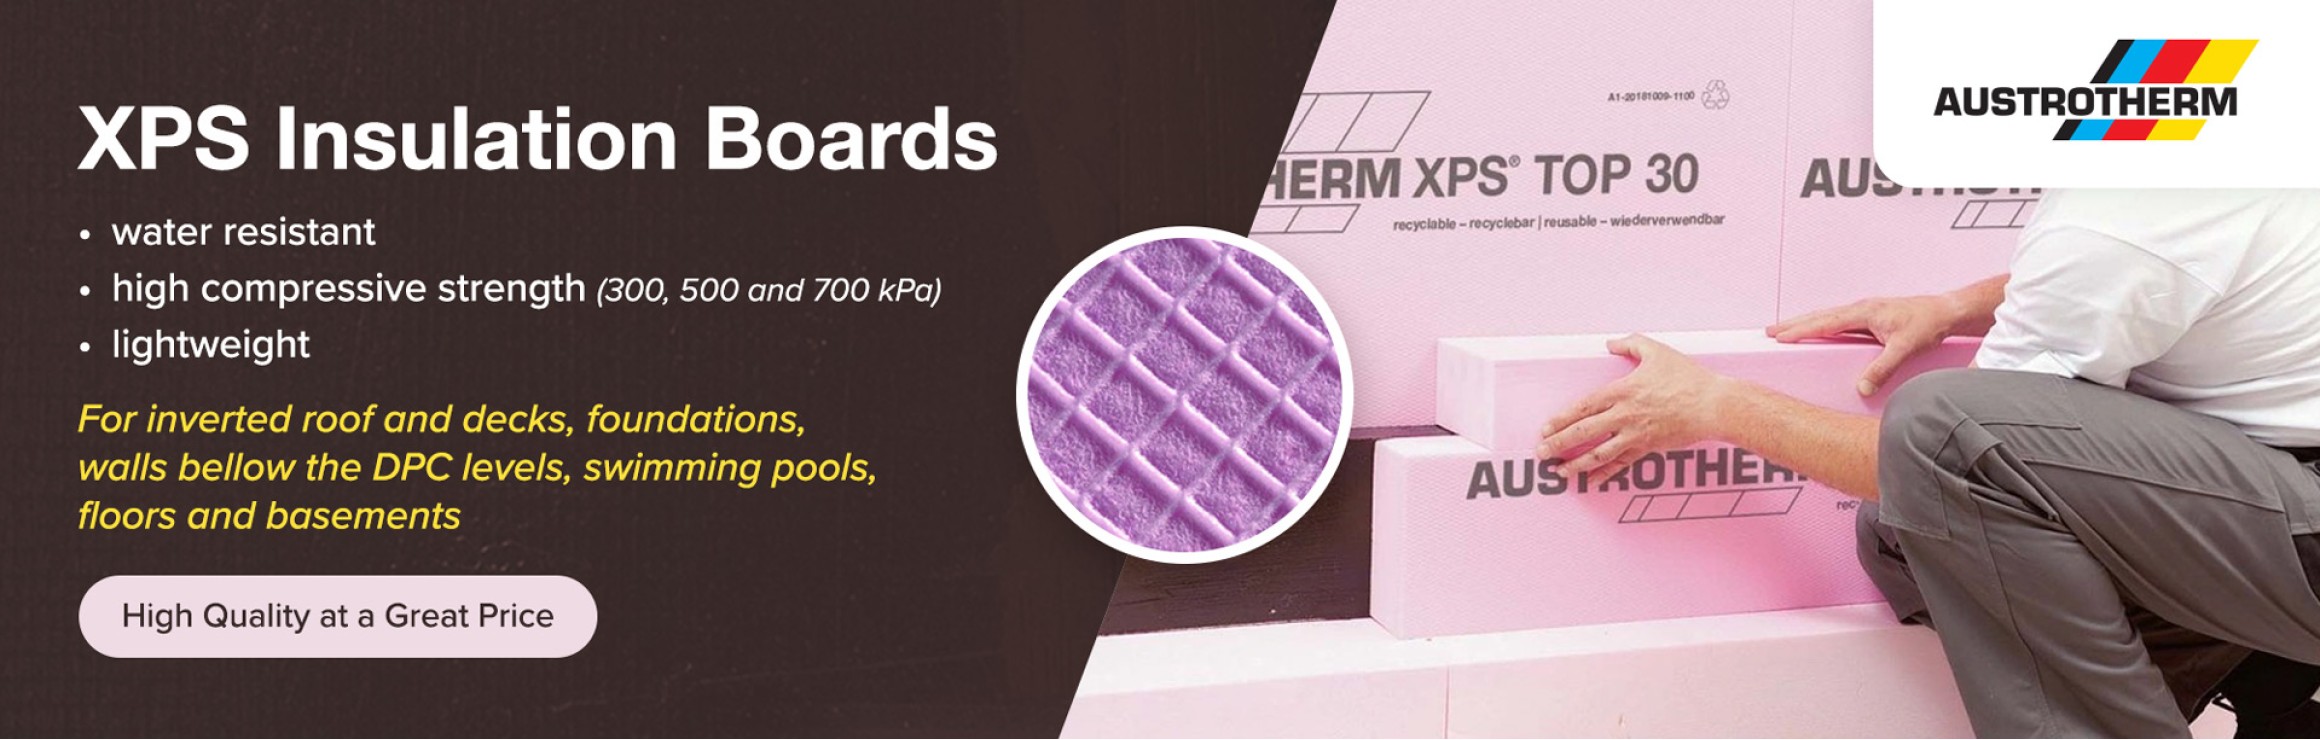
A great advantage of silicone renders is that they can be applied over external wall insulation (EWI) as part of the Insulated Render System. This is particularly handy if you would like to add insulation to the exterior side of existing or new build wall structures, including solid masonry walls. A benefit of adding insulation externally, does not take away from existing internal floor spaces by adding internal insulation with a new plasterboard finish. External insulation can also be added to cavity walls providing a further amount of thermal protection (to read more about it click here).
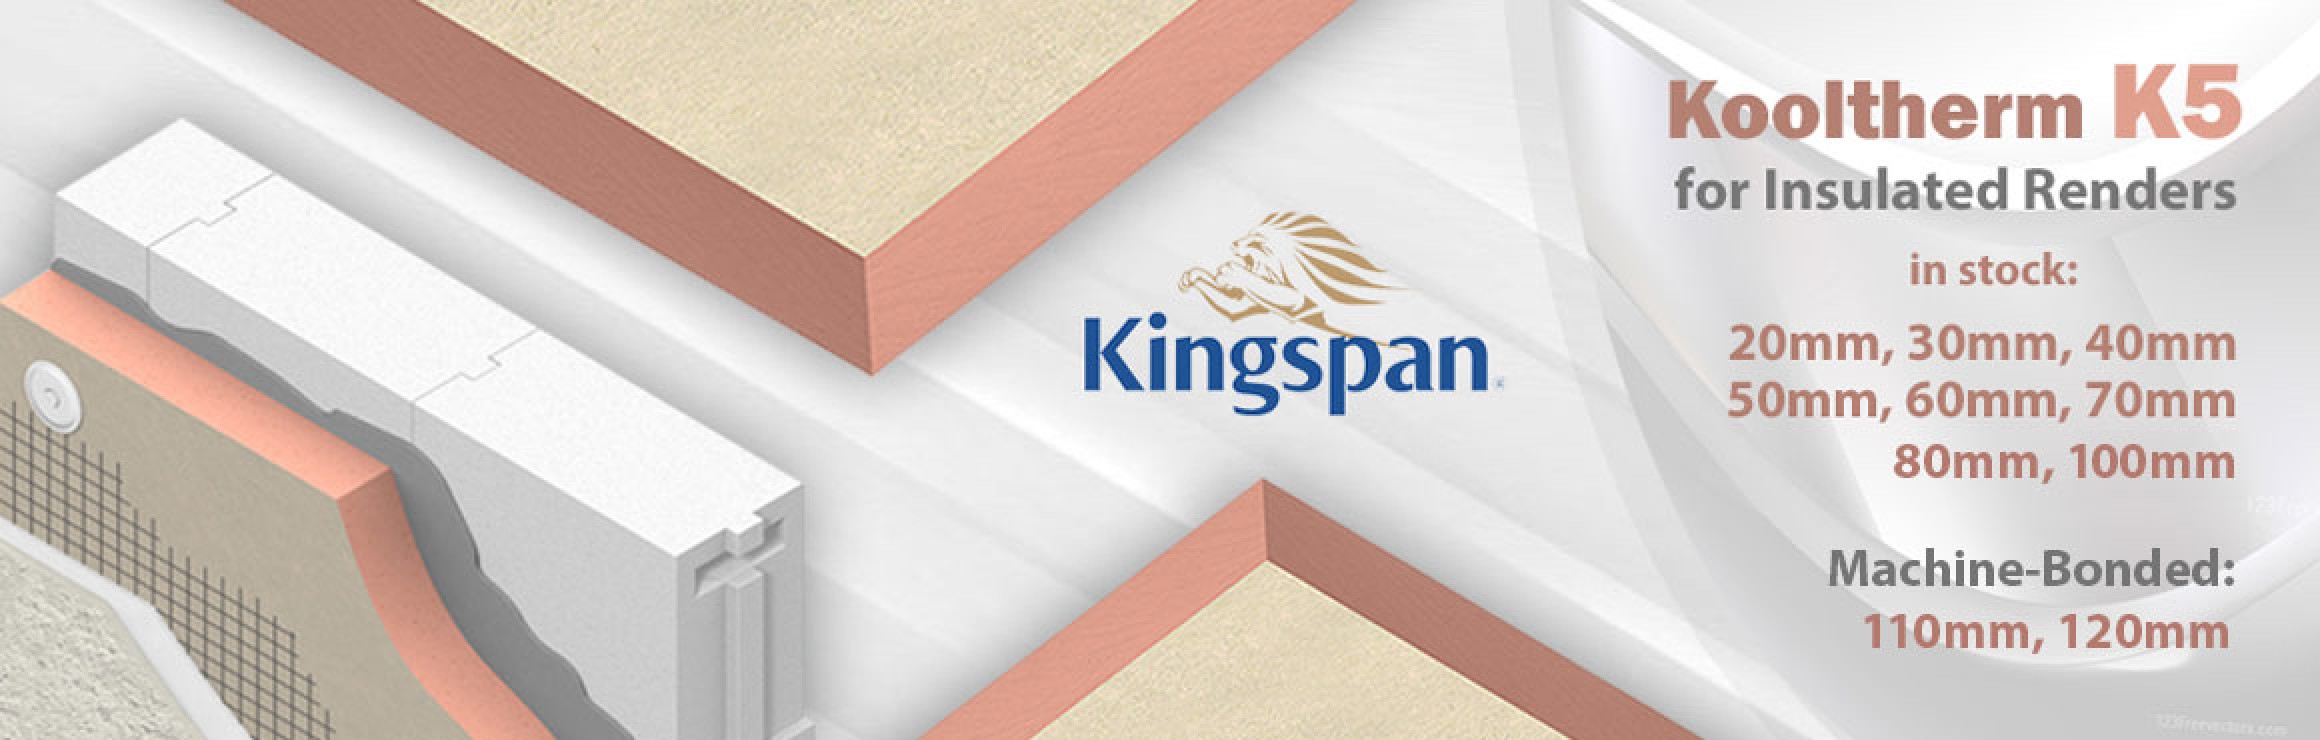
The following types of EWI systems are suitable for silicone rendered walls: polystyrene, mineral wool and phenolic boards. The insulation specification will change if the wall faces a neighbouring property as the insulation will probably need to be fire rated in these locations. Please check with your local authority Building Control department.
External insulations cover the structural envelope, like a blanket, so they reduce any cold bridges or weak spots of thermal conductivity passing through certain construction elements. Please note that a correct installation method needs to be followed, especially around edges such as windows, doors, service pipe and cables. Faulty installation can cause problems such as damp and condensation issues, which this type of render, if installed correctly, is good at protecting against.
Silicone renders are hydrophobic meaning that they repel water effectively to keep rainwater away from the wall construction. They are also breathable, meaning that they prevent water from entering the structure but allow moisture and condensation within the structure to escape out, so aids in the prevention of mould and damp. Traditional sand and cement mortars are denser and lacking the permeability leading to moisture retention and various other related possible problems. Modern paints which are applied over sand/cement renders that also hold moisture within the structure. So sand/cement renders and modern paints are best suited to modern structures designed in a way that they do not require breathability, such as a ventilated cavity wall construction or rain screen cladding. Silicone renders can be applied to most external wall surfaces that do or do not require a breathable finish.
Traditionally historic buildings were built with a natural hydraulic lime mortar, finished with a natural chalk based paint. This method will probably need to be retained on historic and Listed Buildings and in Conservation Areas. However, these materials are not popular with most builders as they require special training and need to be installed correctly to historical building methods. The natural lime products tend to be more costly than modern cement. Another advantage of silicone render is most builders are capable and willing to apply them.
A characteristic to lime mortars that are shared with silicone renders, but NOT sand/cement renders is their ability for movement which prevents cracks. Silicone renders are able to withstand a certain range of varying winds pressures as the movement qualities within the render, prevent cracking. Sand/cement renders, however, are quite rigid and fixed, therefore can lead to cracking.
Advanced technologies used within silicone renders enable the renders to be somewhat self-cleaning with algae-resistant properties enabling the surface of the render to resist dirt accumulation on its surface which is naturally washed away. These technologies help the render to be installed in places where algae and moss or organic growth are likely to occur, such as near water or plant life. Although the render is self cleaning and is of low maintenance, it is recommended to wash the render from time to time to ensure that it is looking good and fresh. With time, if desired, ‘silicone paint’ can be applied to the silicone render to regain its original brilliance.
In summary, silicone renders are superior to sand/cement renders in that they are much more durable making them resistant to cracking and better resistant to environmental factors. Their self-cleaning properties make them a low maintenance exterior finish. The products feature a range of through material colour choices and textures to suit a wide range of design solutions.
Although silicone renders have an initial higher cost, with material and labour, their value of quality performance and low maintenance make-up for the initial costs. It is highly recommended to use experienced tradesmen to ensure the best results. Unfortunately, the use of synthetic materials are not always sustainable and eco-friendly.
One of the insulation shops products, Ceresit CT74, offers a good level of durability and aesthetic appeal, making this an excellent product that offers a modern solution for exterior wall finishes, combining durability, aesthetic flexibility along with trustworthy protective characteristics. While they come with a higher initial investment and have environmental considerations, their long-term benefits often outweigh these drawbacks, making them a preferred choice for contemporary construction and renovation projects.
Silicone Render’s Application Guide
- Surface Preparation: Ensure the substrate is clean, dry, and free from contaminants: dirt, dust and loose particles. You can use a pressure washer or a stiff brush and water to ensure a clean and smooth surface. Repair any existing cracks or damages to provide a stable base for the render.
- Priming: Once the surface is clean and dry, apply a suitable primer to enhance adhesion and ensure a strong bond between the substrate and the render. This step is crucial for achieving a uniform finish. Follow the manufacturer’s instructions for the specific primer you are using. Allow the primer to dry completely before moving on to the next step.
- Testing, mixing and preparation: a) Mix the render well before applying. Use a clean bucket and mix the render with water according to the recommended ratio. b) Stir the mixture thoroughly until it reaches a smooth and consistent texture. Avoid over mixing, as it can introduce air bubbles into the render. c) Test a small patch on the wall before rendering the whole wall, d) Mix together the required amount for the whole wall to avoid possible small differences in colour shades (Please note that each bucket might be of a slightly different shade.) This may not be noticeable if different mixtures are applied to separate walls but might be noticeable when applied on one continuous wall.
- Base Coat for Silicone Render: For applications involving external wall insulation (EWI), a thin base coat embedded with fibreglass reinforcing mesh is applied to the prepared surface to provide additional strength and prevent cracking. Start from the bottom and work your way up, ensuring complete coverage. Use a straight edge to level the render and remove any excess. Allow the base coat to dry according to the manufacturer’s instructions.
- Silicone Render Primer: Use silicone (quartz) based primer (Ceresit CT16) before applying silicone render (the same brand would be best). It prevents render’s colour changes, improves its adhesion and durability.
- Render Application: Once the base coat and primer is set, the silicone render top coat is applied, using a trowel method as the base coat, to the desired thickness (typically 1.5mm for Ceresit CT74). Ensure an even and smooth application. The surface is then textured, with a plastic trowel or spatula, as required to achieve the desired finish. Check for any imperfections or inconsistencies. Smooth out any rough areas or unevenness paying attention to corners, edges, and joints to ensure a seamless finish. If applying the wet renders in low temperatures (in late Autumn or early Spring), we recommend using this special additive product: Ceresit CT240.
- Curing: Allow the render to cure naturally. Take protective measures to protect the render from rain before it is fully dry. Avoiding exposure to extreme weather conditions during this period will ensure optimal results.
Author: Stephan Silver of Xobo Design